As the owner of multiple WordPress websites, it is a major (and required) responsibility to keep your website plugins updated at all times. Failing to do so could result in broken pages, displaced content, and a slow-loading site. See below how to update your WordPress Plugins.
Here is a step-by-step guide on how to update your WordPress plugins.
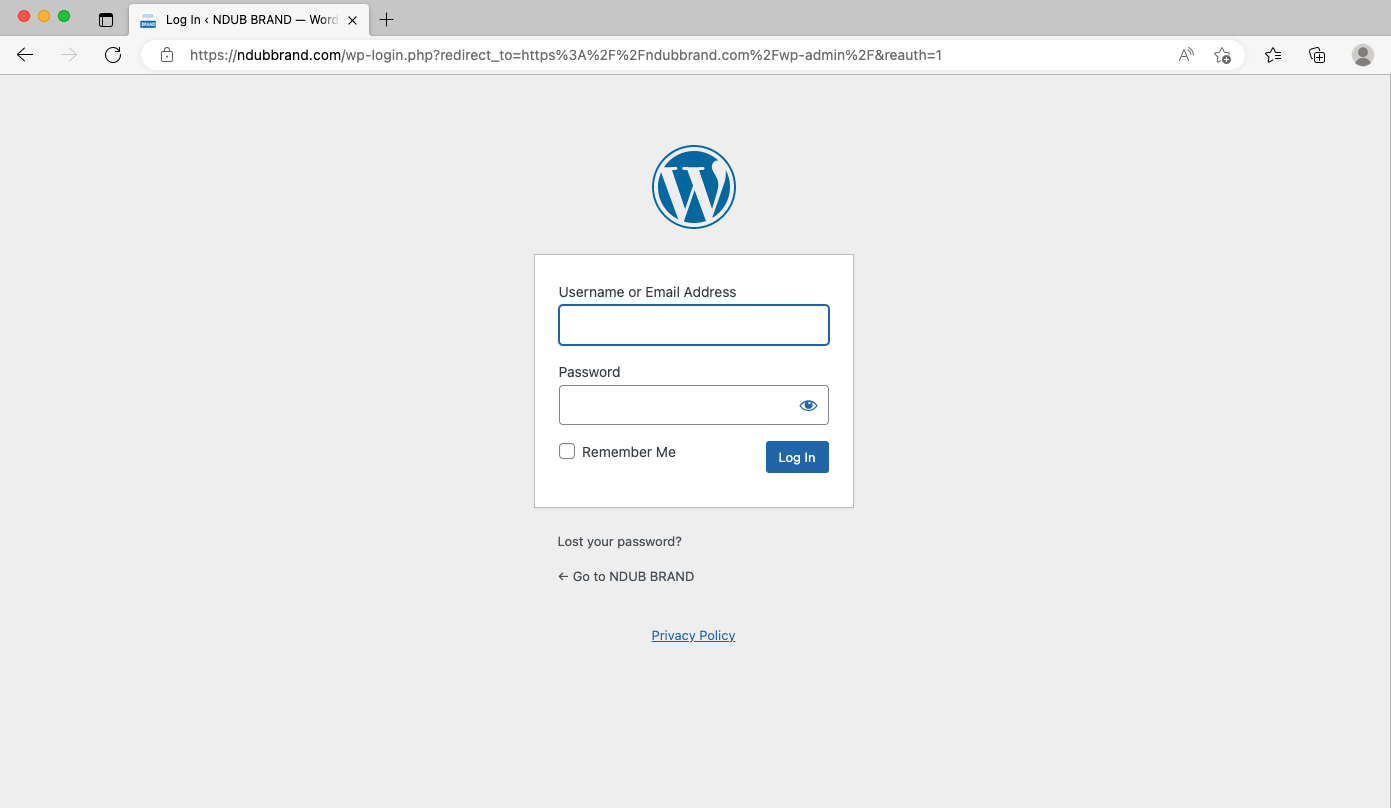
Step 1: Log into Your Website
For example, domainname.com/wp-admin. The easiest way to do this is to navigate to your website www.yourdomain.com and then add the /wp-admin after. You’ll see the WordPress logo “W” prompting you to log in. Enter your username/email and your password. If you have forgotten your login information or your webmaster has not provided you with them, click the “lost your password?” down at the bottom. Now, you should be logged in.
Step 2: Navigate the Menu
When you log into your website you will see a menu bar on the left side of your screen. Think of this menu bar as the “Home” screen on your computer or cell phone. You will always go back to this menu bar when doing anything from updating your pages to creating a post.
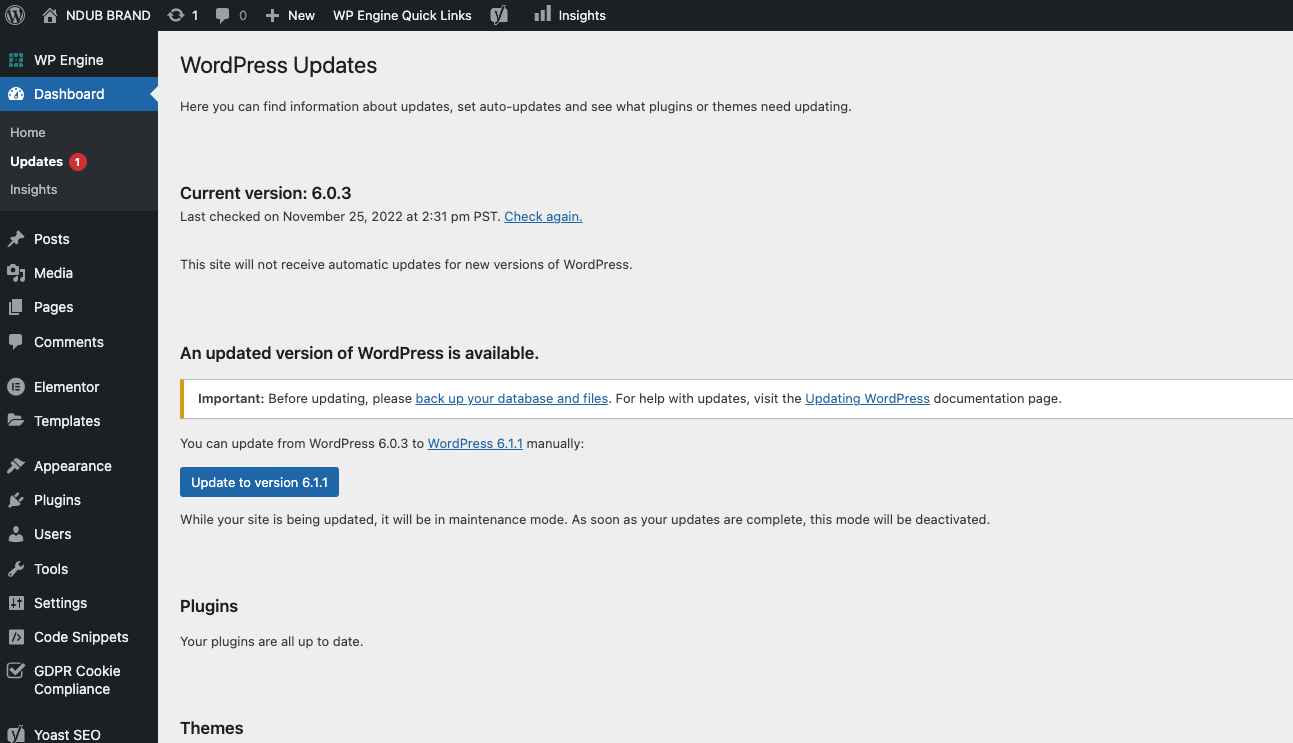
The most accessible place to update the plugins on your website is to go directly under “Home,” where you will see “Updates” right below. If there is an update that is needed it will have an orange circle with the number of updates that are needed.
You can also update your plugins by navigating to the “plugins” tab on your left menu bar. It also has an orange circle with a number in it.
(note: sometimes these numbers can be different because other items need to be updated such as your WordPress version or the template).
For this guide, go to the “updates” under the home.
Step 3: Update Plugins
Once you have clicked “updates” you will see this page, which lists all of your updates:
This page tells you which plugins need updates and if your WordPress version is the latest release. If your WordPress is not the most recent version, you’ll want to update it before you update the plugins, just in case one of your plugins needs the latest version of WordPress. From here you will want to check the box, “Select All” to update the plugins. If you don’t have high-speed internet, we suggest you update one plugin at a time. While your plugins are updating, your website and/or functions may be temporarily down. Then you will need to press “Update Plugins.”
Step 4: Check the Status of the Update
When the updates have finished, you will find a page with different lists.
This page lists the status of the plugins. If it’s coded with green next to it, your plugin updates successfully. If it’s red, it did not update successfully and you will need to figure out why. Often the error message provides you with the information you need to know to fix it. *The WP Bakery Visual Composer didn’t update because we haven’t paid for the premium package.
Nathan Webster, MBA